Week 5: 3D Print

Threading for Capybara Box


Goal of this Week's Project


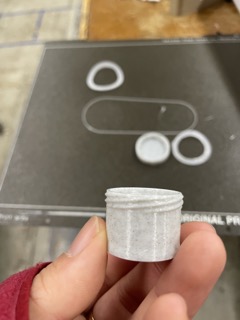
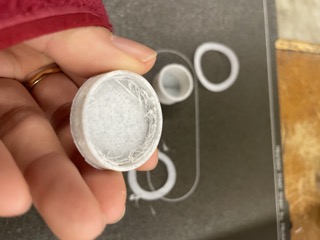
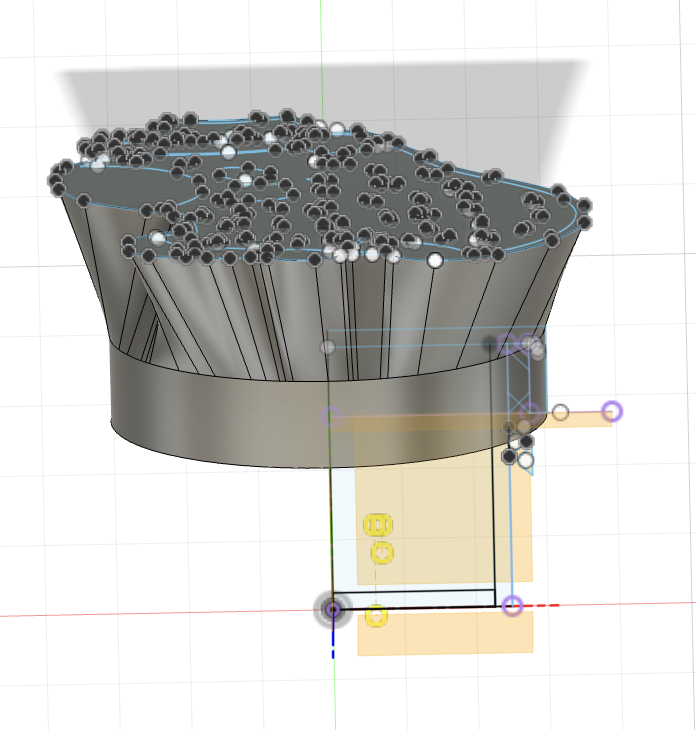
Part of my final project will have a bowl of sorts. I have been wondering if I should give this bowl a lid. I know machines can't produce a lot of force with the voltage that we have access to, so if I make a pop on and off snug cap, I am afraid the machine won't be able to generate enough force to pop out the lid. So, for this week, I want to try to make my own container with some threading. I think the machine can potentially have enough force to unscrew a lid. However, the mechanism of unscrewing the lid is a bit harder in that instead of popping up and pushing down like a pop up lid, this lid would need circular motion to unscrew. Oh well, I think both types of container is going to produce some difficulty, but we will get there eventually.

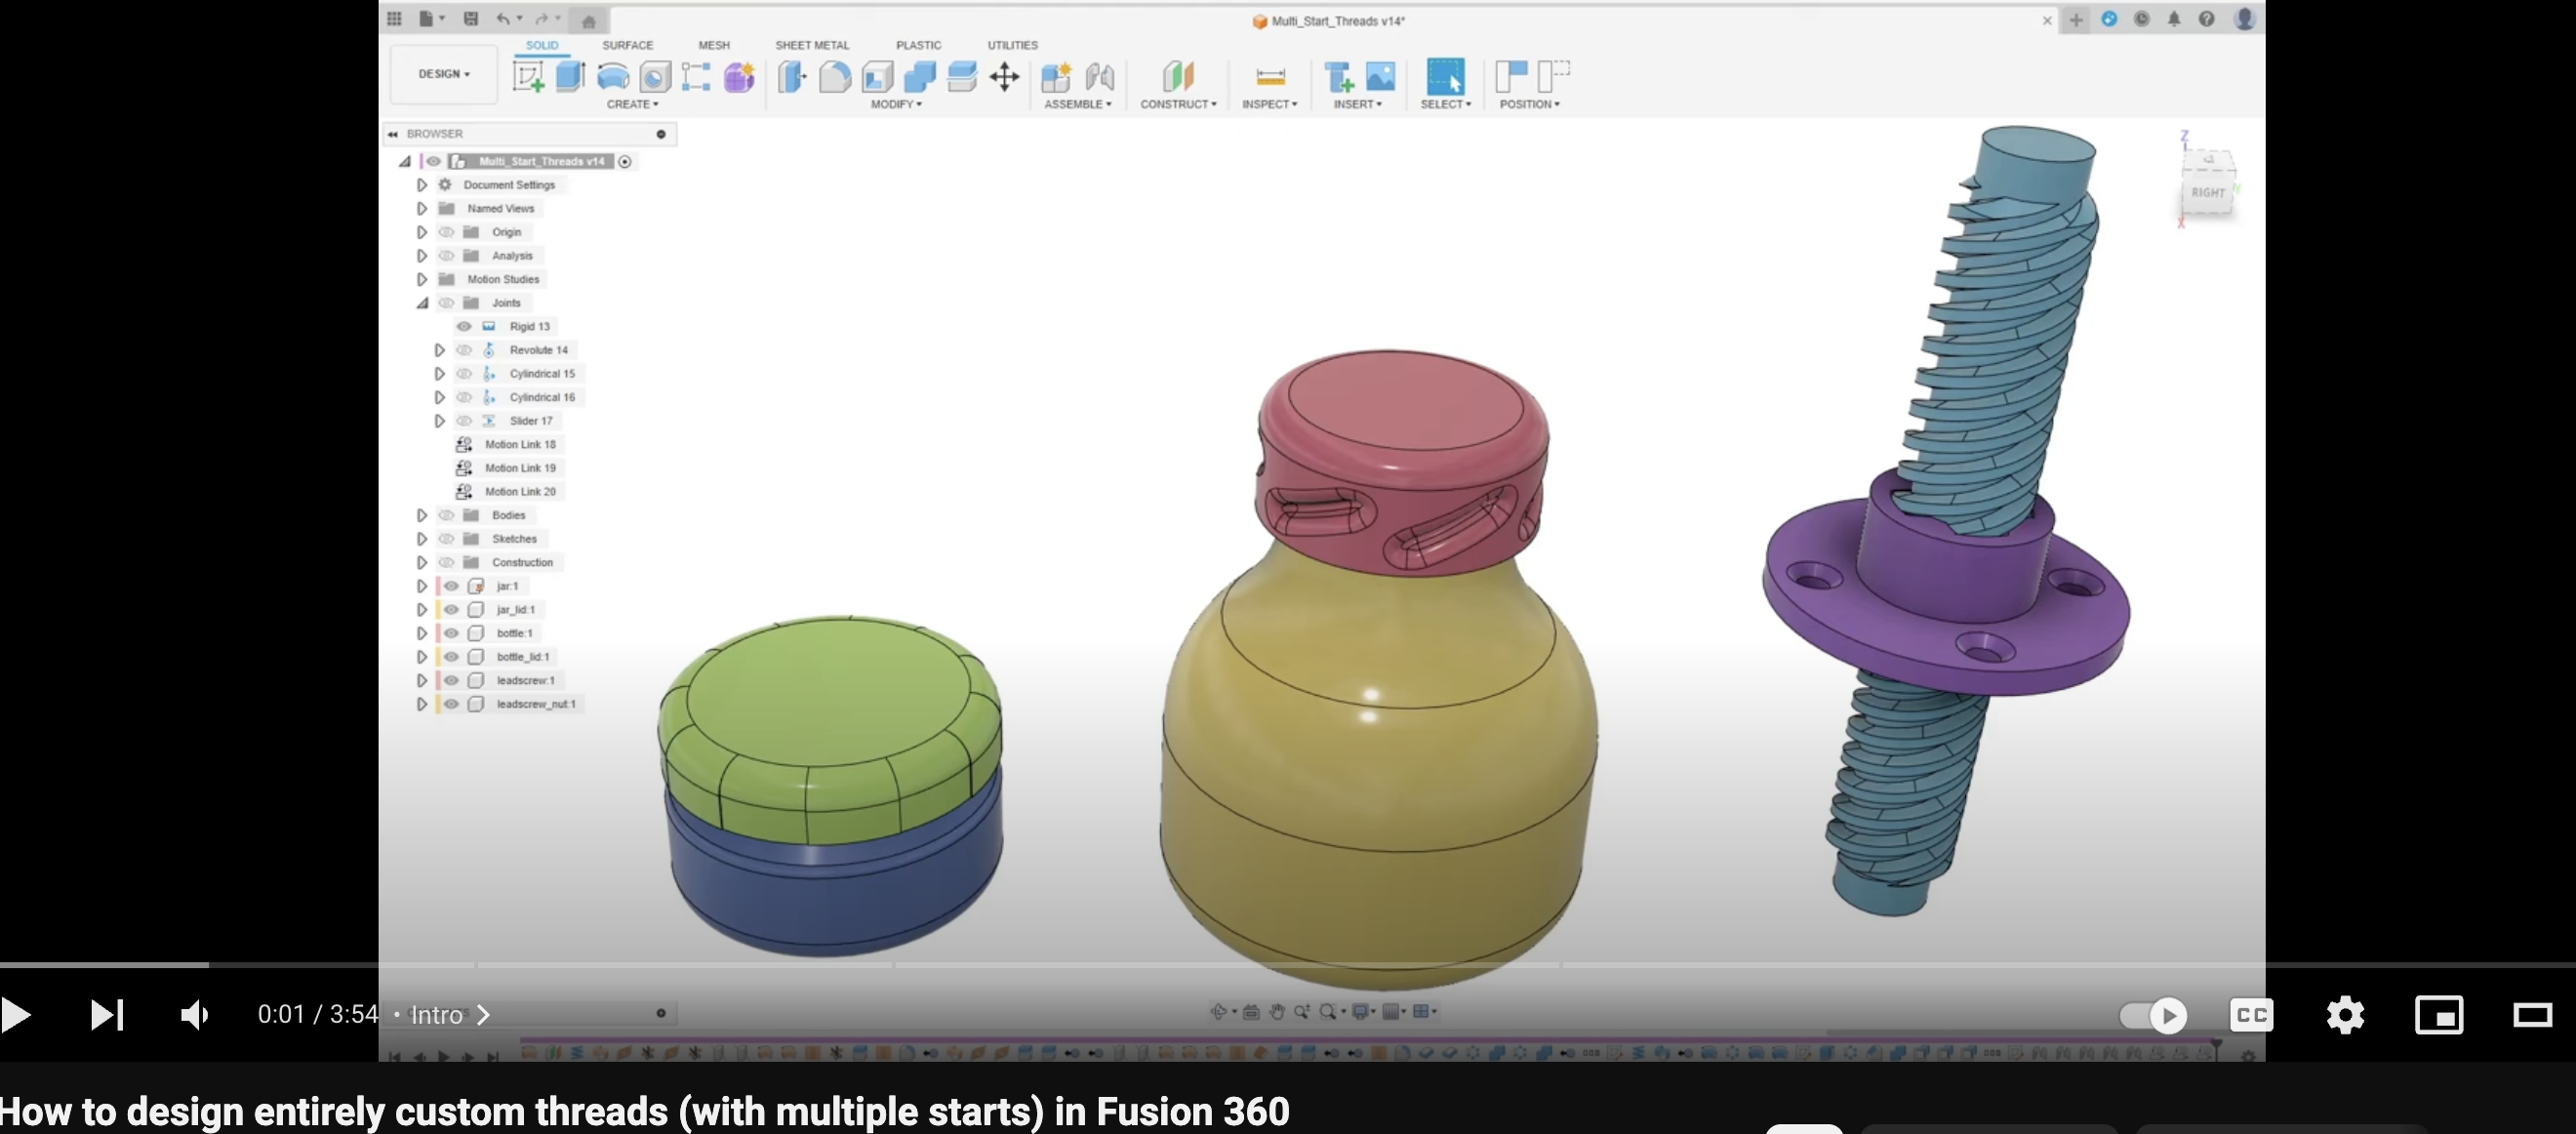
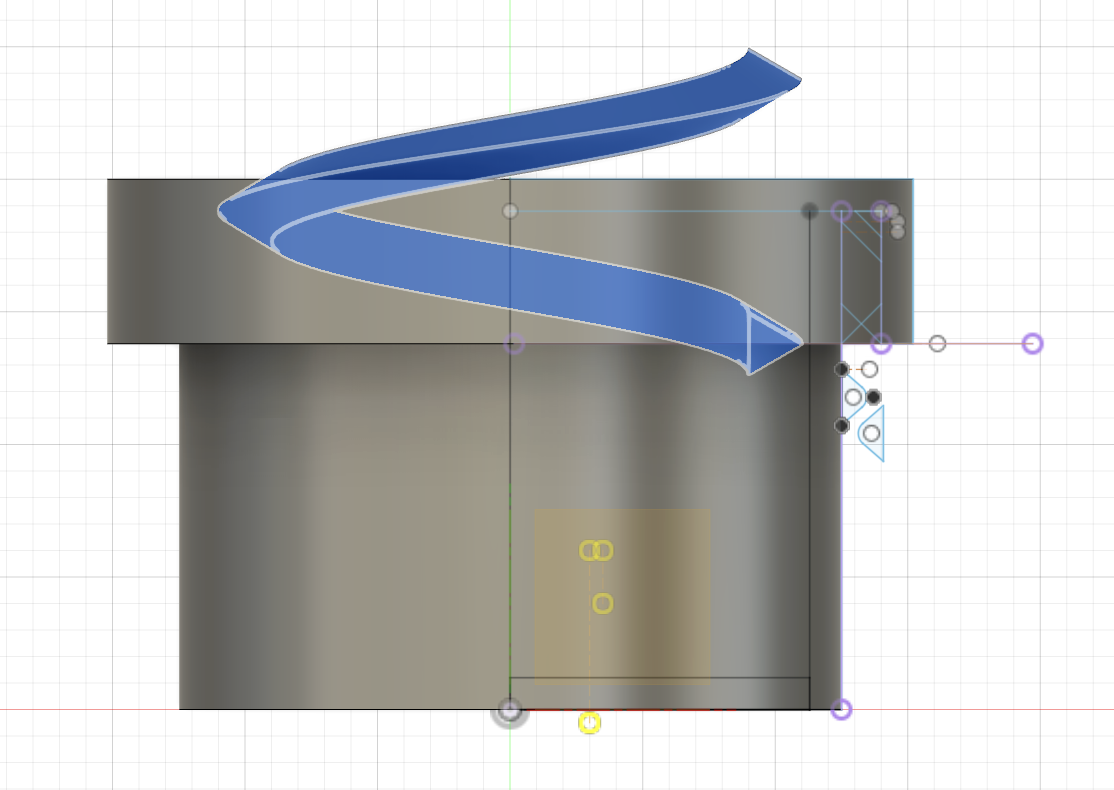
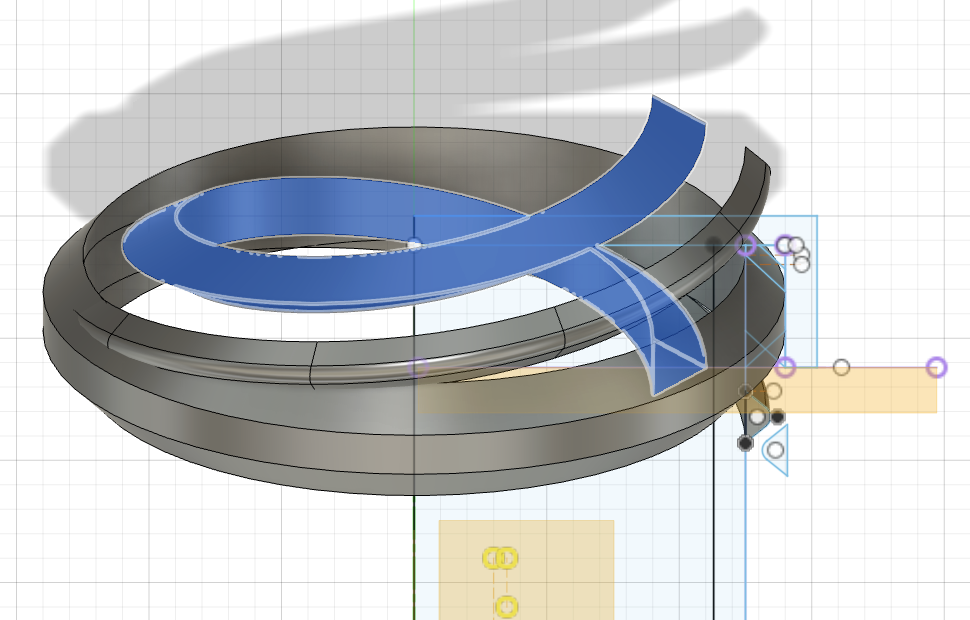
Now, to the threading part. There is a threading feature on autodesk fusion, but I want to learn how to design my own manually, so I sought out Fusion tutorials threading tutorials. There were quite a few. I chose: "How to design entirely custom threads (with multiple starts) in Fusion 360" by "getprototyping"


Youtube Tutorial
OFF WE GO!!!

Following the Tutorial


Steps of the Tutorial:

1. The biggest theme of this tutorial is using the revolve and pattern tools. We create a sketch profile only on one side, but by using the revolve tool, we can make the profile go 360 or by how many degrees we want. This especially works if we are making a circular container. If the container has weird edges, more thinking will have to be done when using the revolve tool. For example, from multivariable calculus, we have a y=x line going from (0,0,0) and then we are revolving it, we get a cone. That is just to put it into perspective of how edges and the revolve tool works.

Sketch profile

2. The sketch profile is separated into four bodies: container main, container thread, lid main, and lid thread. This is done by carefully selecting the pieces we want after creating a whole sketch profile for the whole bottle.

Solid created after revolving

3. After that, I need to make the actual threading profile, so these are like triangles with rounded tips spaced not very far from each other.

Thread profile

4. Then, I create a coil to make a path for the thread.

coil path

5. With the path and the profile for the threading complete, I then use the sweep tool. The sweep tool allows for me to select the profile I want to sweep around a sepcific path, in this case, I select it to be the outer edge of my coil. I also use an offset plane right at the bottom of the lid.

sweeping tool

6. Then, I intersect the body that was sweeping with the body of the container in order to get the actual thread.

7. This whole time, I have only been making 1 start. I want multiple starts, so now I use the circular pattern. I let the center of the lid be my center and the thread body be the body I want to make a circular pattern out of.

8. I repeat this to make the threading for container lid.


Printing Fail


While most of my print was successful, because the threading was too small for the 3D printer's precision threshold, I didn't get the threading pattern that I wanted. However, I did learn to make the threading a bit thicker for my actual bottle. This is just a prototype.
Threading on container successful

Threading on container lid unsuccessful


Capybara Bottle


Now that I know how to make a threading lid somewhat, I wanted to use some other cool tools that Fusion has such as the loft tool. To incorporate that into my 3D design, I used a capybara surface and the loft tool that connects the capybara surface to the circular lid. I envision the outcome of this bottom to be especially helpful for someone who has trouble making a firm grasp on a circular sleek object. The capybara has a lot of edges, so as long as the individual's fingers could just hold onto one edge, they can potentially have enough leverage to unscrew the lid.
Loft tool to create capybara lid

3d print

3d print