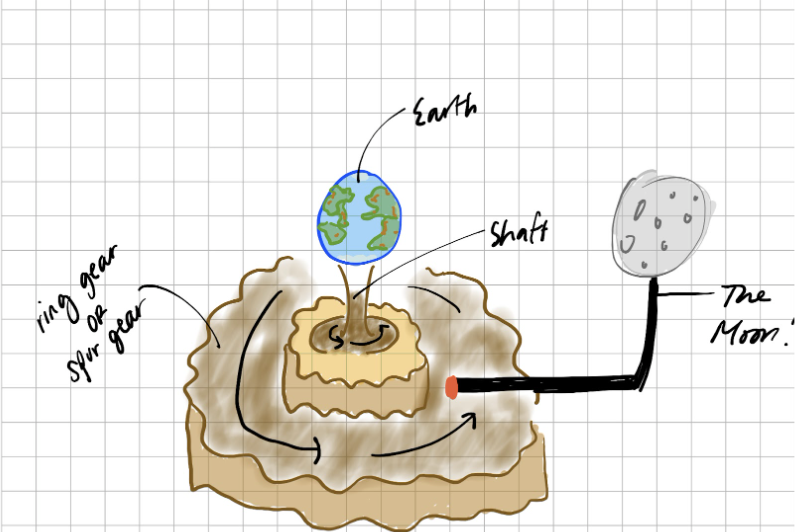
Preliminary Design:
I made a preliminary design of the sun and an orbiting Earth. I didn’t know what my next steps would be though. I recognized that I needed some sort of gear(s), but upon searching the internet about what types of gears I should use, I was quickly overwhelmed by all the different types of gears and their mechanics. So, I went to open lab to get some guidance.
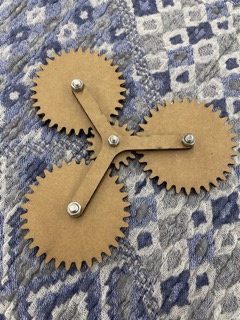
Bobby introduced me to this thing called a “planetary gearbox,” and this type of gearbox does exactly what I want it to do: display orbiting items around a central item (and hence the name). The planetary gearbox is made up of several moving pieces:
- A spur gear in the center, which rotates in place
- Internal gear, a ring that holds all of the gear of the gearbox and is made by cutting teeth into a cylindrical shape but without the top and bottom
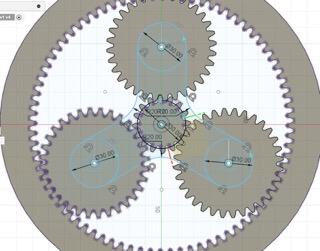
- Spur gears that lie between the center spur gear and the internal gear (we can have as many as we want, but for purposes of learning and not making things too complex, I decided to go with 3)

We searched up a few tutorials, and then I was off on my own!