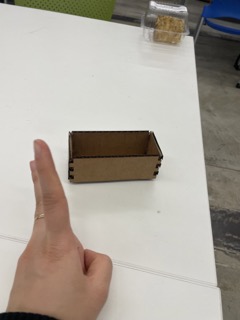
Basic Finger Jointed Box
I followed the basic finger joint box tutorial from class with slightly different dimensions and got the following box.
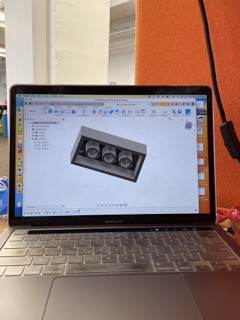
Lego
I followed a tutorial to make a lego block. This was just to help me explore the different tools that autodesk fusion has, such as extrude!
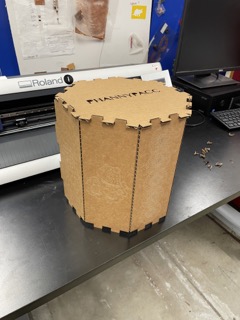
Capybara Hex Box
My biggest goal for this week was to use all three types of cutting of the laser printer, so cut, score, and engrave. I think capybaras are the most adorable and lovely creatures on earth, so I must profess my love for this creature through this box. I am going to build my box based off of the finger joint pattern we learned in class. I was thinking that I could do a finger joint pattern for all of the edges, but I wanted to see that the finger joint pattern is able to stabilize a six sided figure. Therefore, we are just starting with the lid.
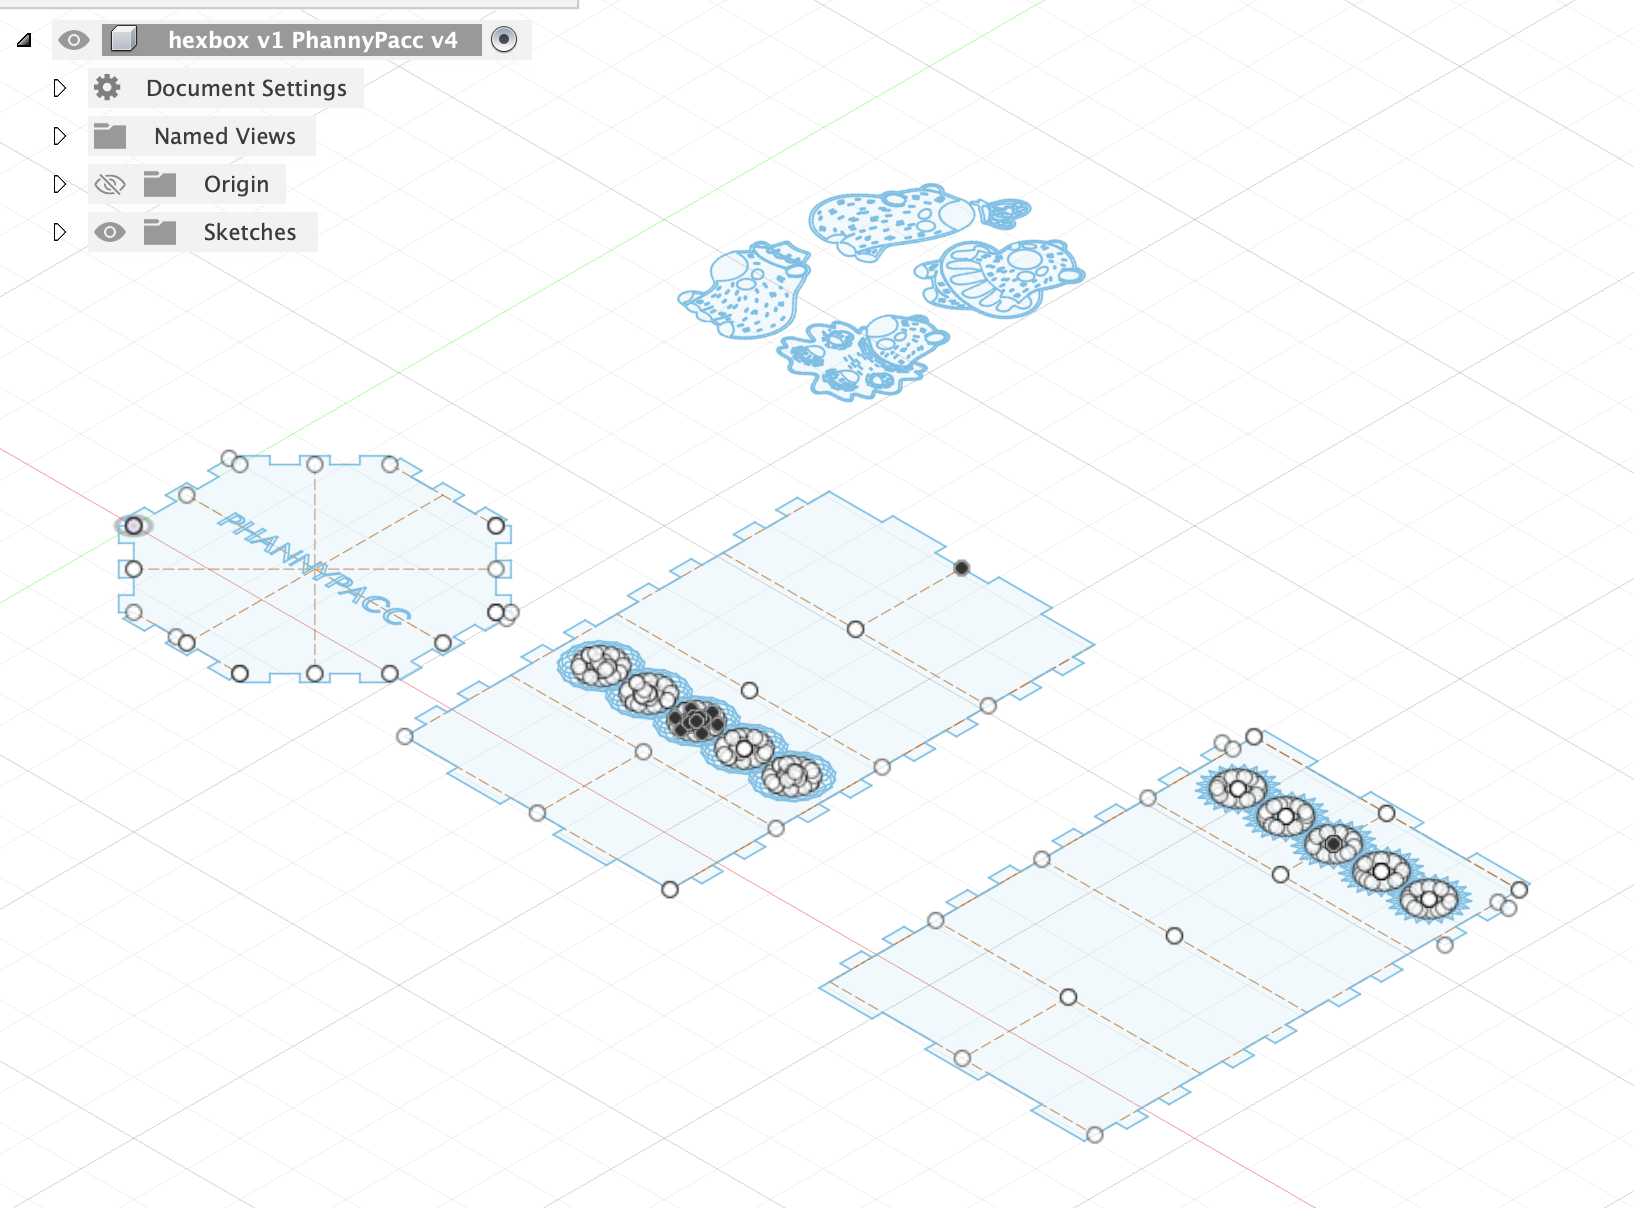
I also wanted to try engraving patterns onto the lid, so I made all sorts of shapes of different sizes before using the circular and rectangular pattern. To get a single complicated looking circle, I used the circular pattern, and then to span it the whole entire face, I used the rectangular patterrn.
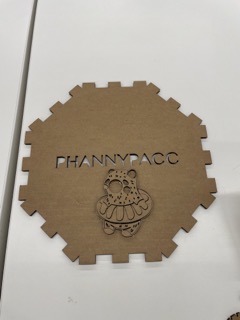
I engraved the complicated patterns because if I try to cut them, I will catch the whole box on fire. I know this because I tried a prototype. Since the patterns are so small and so detailed, the laser printer would be going over the same space over and over and create some flames. I put out the flames though. No worries there. I also scored the edges that would fold, and then I cut the lids with the finger joints.